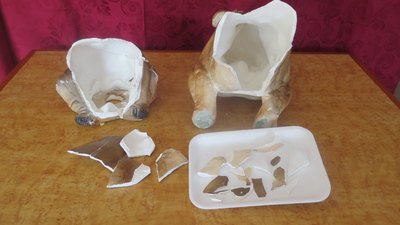
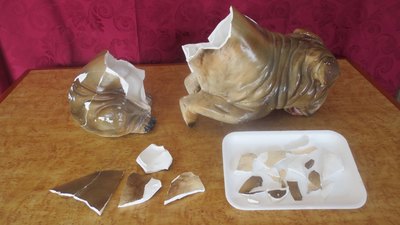
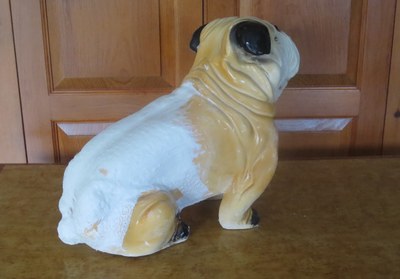
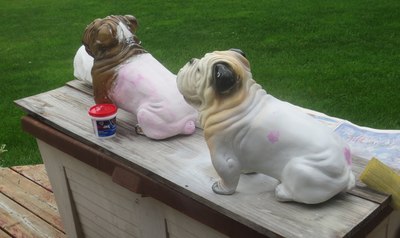
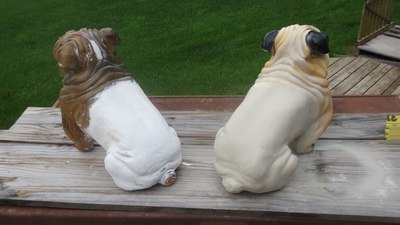
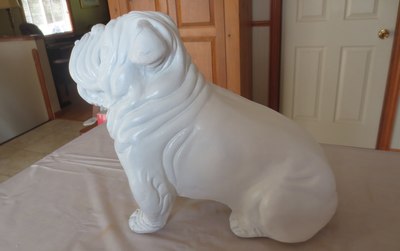
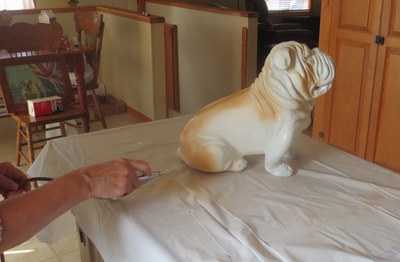
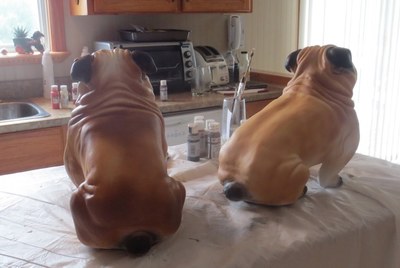
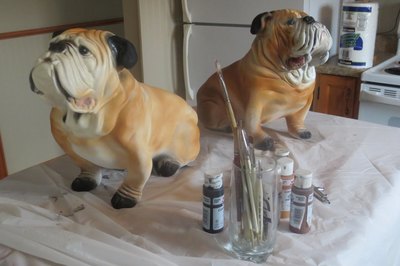
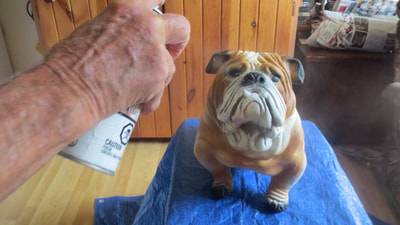
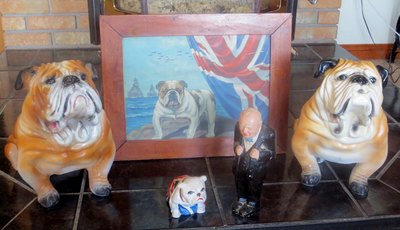
The bulldog in the middle is real. Both end dogs are the chalkware bulldogs that were
repaired in the photos below. One had a colour change at their new owners request.
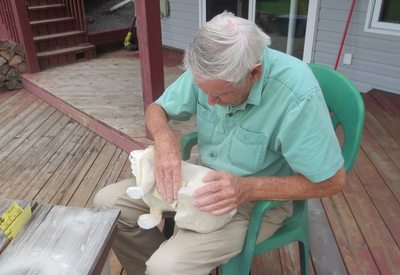
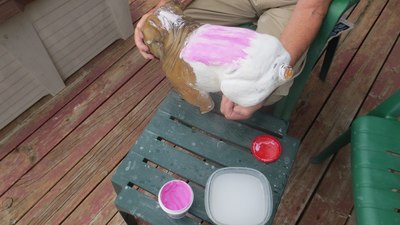
Below are the instructions and pictures of the repair process.
repaired in the photos below. One had a colour change at their new owners request.
Below are the instructions and pictures of the repair process.
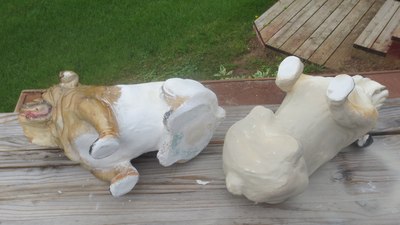
1. Broken pieces were glued together as much as possible.
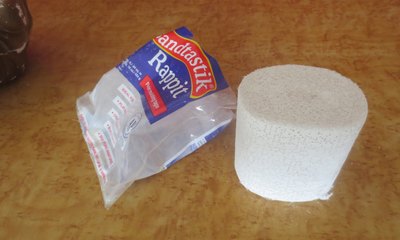
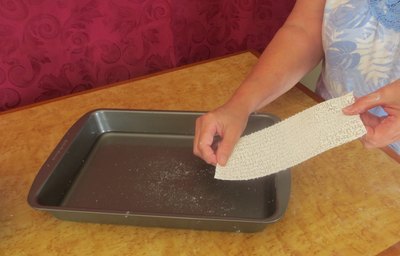
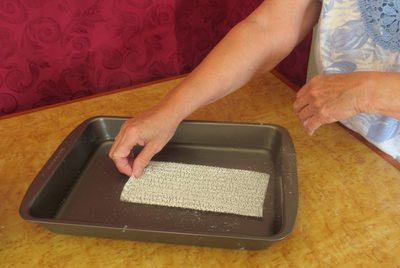
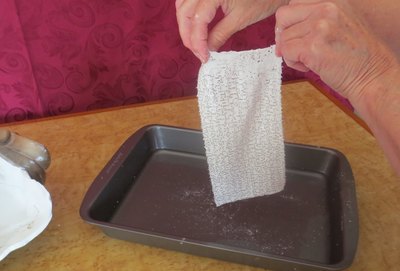
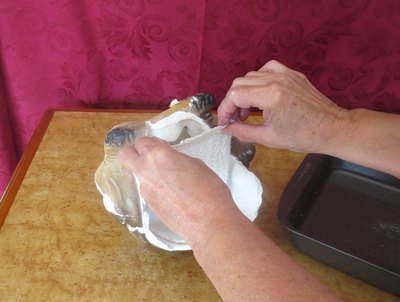
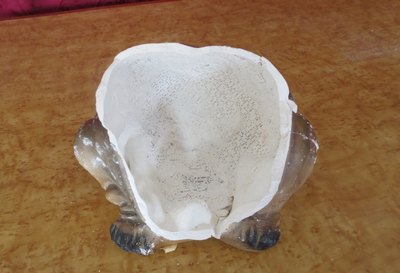
2. Glued pieces were reinforced on the inside using a plaster impregnated bandage.
3. Front and back pieces were glued together. Gaps were covered with the plaster bandages.
4. One hole was left big enough to pour a mix of liquid plaster into the inside of the dog.
5. Plaster was poured into hole an dog was shaken to distribute plaster.
6. When the inside had dried (24 hours) the pour-hole was repaired with plaster bandage.
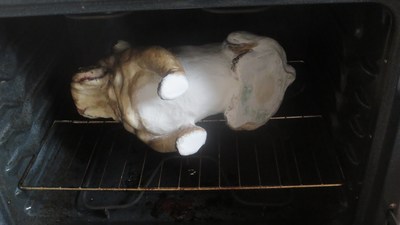
5. Drying process was speeded up by low heat in the oven with door left open. Air dry overnight.
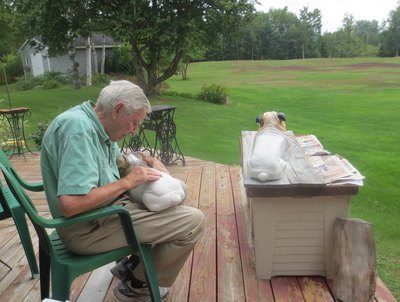
7. Preliminary sanding. The application of DAP over repairs. Dap sanded and re-applied as required.
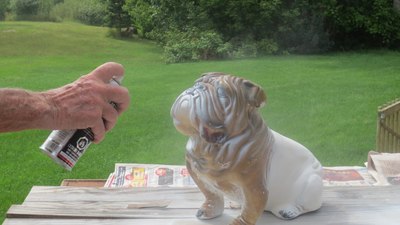
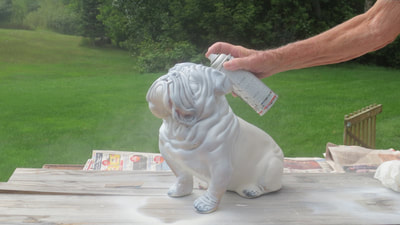
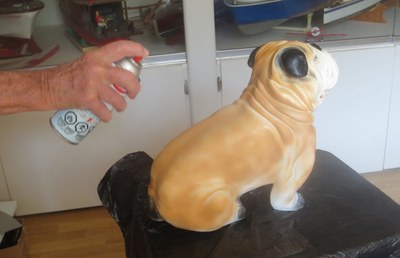
8. Base coat (we used Krylon Spray Paint) was applied.
9. A few more Dap touch-ups to cover blemishes. Sanding as required.
10. Base coat applied. Usually required two applications. Let dry completely between applications.
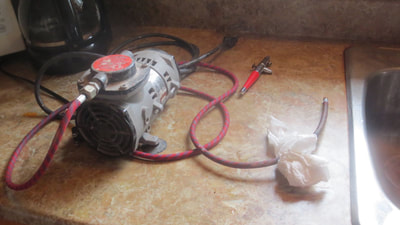
11. Airbrush to blend colors. Paint brushes used to for details and features.
12. Glaze applied. (Krylon Clear Varnish)
